The Story Behind the Photo
December 2023: Best of 2023
Keith Anderson
©Keith Anderson
Camera
Canon 5D Mark 4
15.0 sec at f /8.0, ISO 100
110mm
Lens Canon EF 100-400mm f/4.5-5.6L IS 2 lens
I wanted to learn more night photography skills, so I decided what better place to learn this skill than at one of Seattle's many spots to catch the perfect skyline shot. Since research is vital in any successful photography trip or adventure, I spent time online and found some key places to set up my camera and click for the beauty of lights and settings My itinerary has those spots in mind. Since my bride is a hobby photographer, I told her we were heading out on an adventure date in Seattle tomorrow night. She asked the usual date question: Should I bring my jacket, walking shoes, and camera? My usual response was, yep, to all three, and I looked forward to what we discovered with our different compositional perspectives at night in our lovely city.
1. Our first stop was the Jose Rizal Bridge, just a few minutes from downtown. The location provides a couple of spots to capture the city landscape and the city with blurred lights from vehicles passing over the bridge. I parked, and we walked into the park to where we found the perfect spot.
2. Our next stop was the Bell Street Pier (#62-63), where the skyline view includes Seattle’s Great Ferris Wheel and stadiums. If you time it correctly, you can get blurred light from vehicles running down the road along the water.
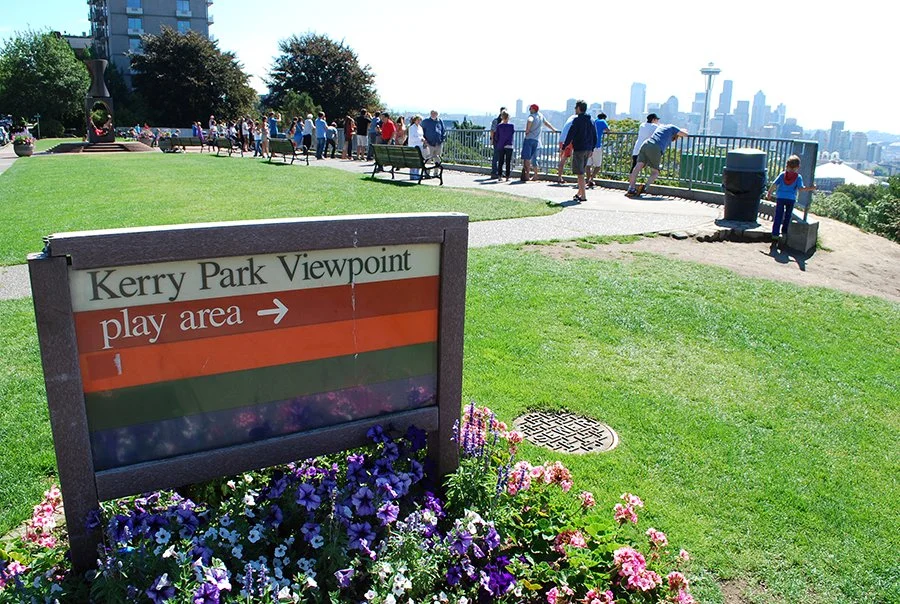
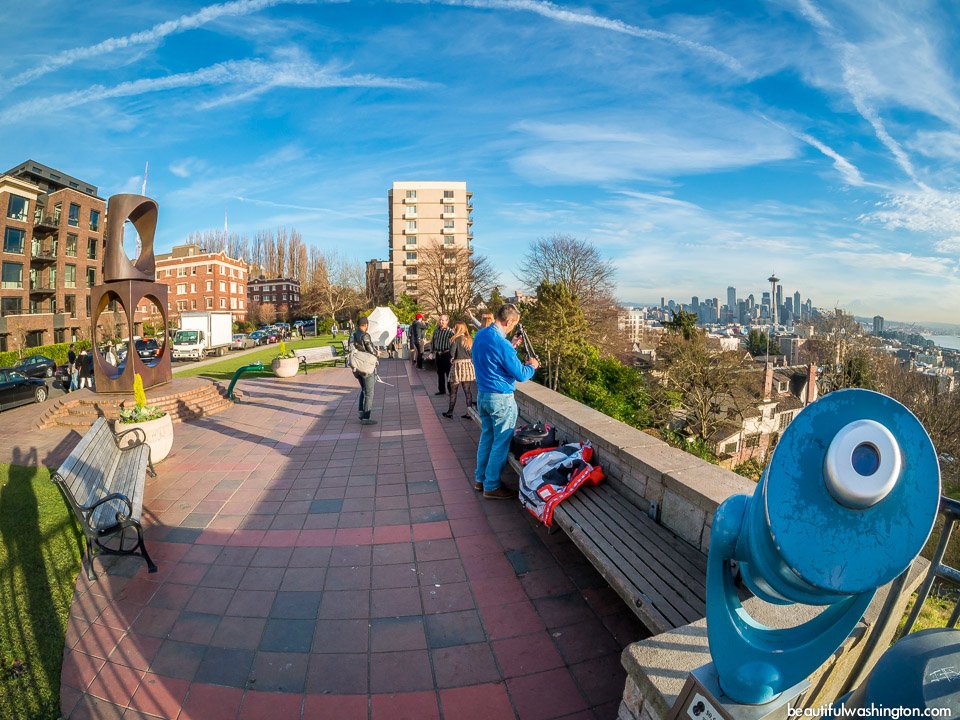
3. Next, we arrived at our destination, Kerry Park. The location offers perfect views of Seattle and the Space Needle, which is front and center in all your pictures. I planned this as our last stop because the park could become overcrowded with tourists and photographers. The late time was perfect as there were only a few photographers in the area and no crowds. As I set up my tripod, I noticed spots where you can go around the fence for a nice flat spot that facilitates a lower, more unique view of the city. My bride and I set up and started taking shots. I started with the basic landscape night shots, doing vertical and horizontal views of the Space Needle and the city with the Great Wheel in the background. I then decided to concentrate on the Space Needle itself.
I looked over to see some of my bride’s shots and learned about a new (to me) and creative photography approach.
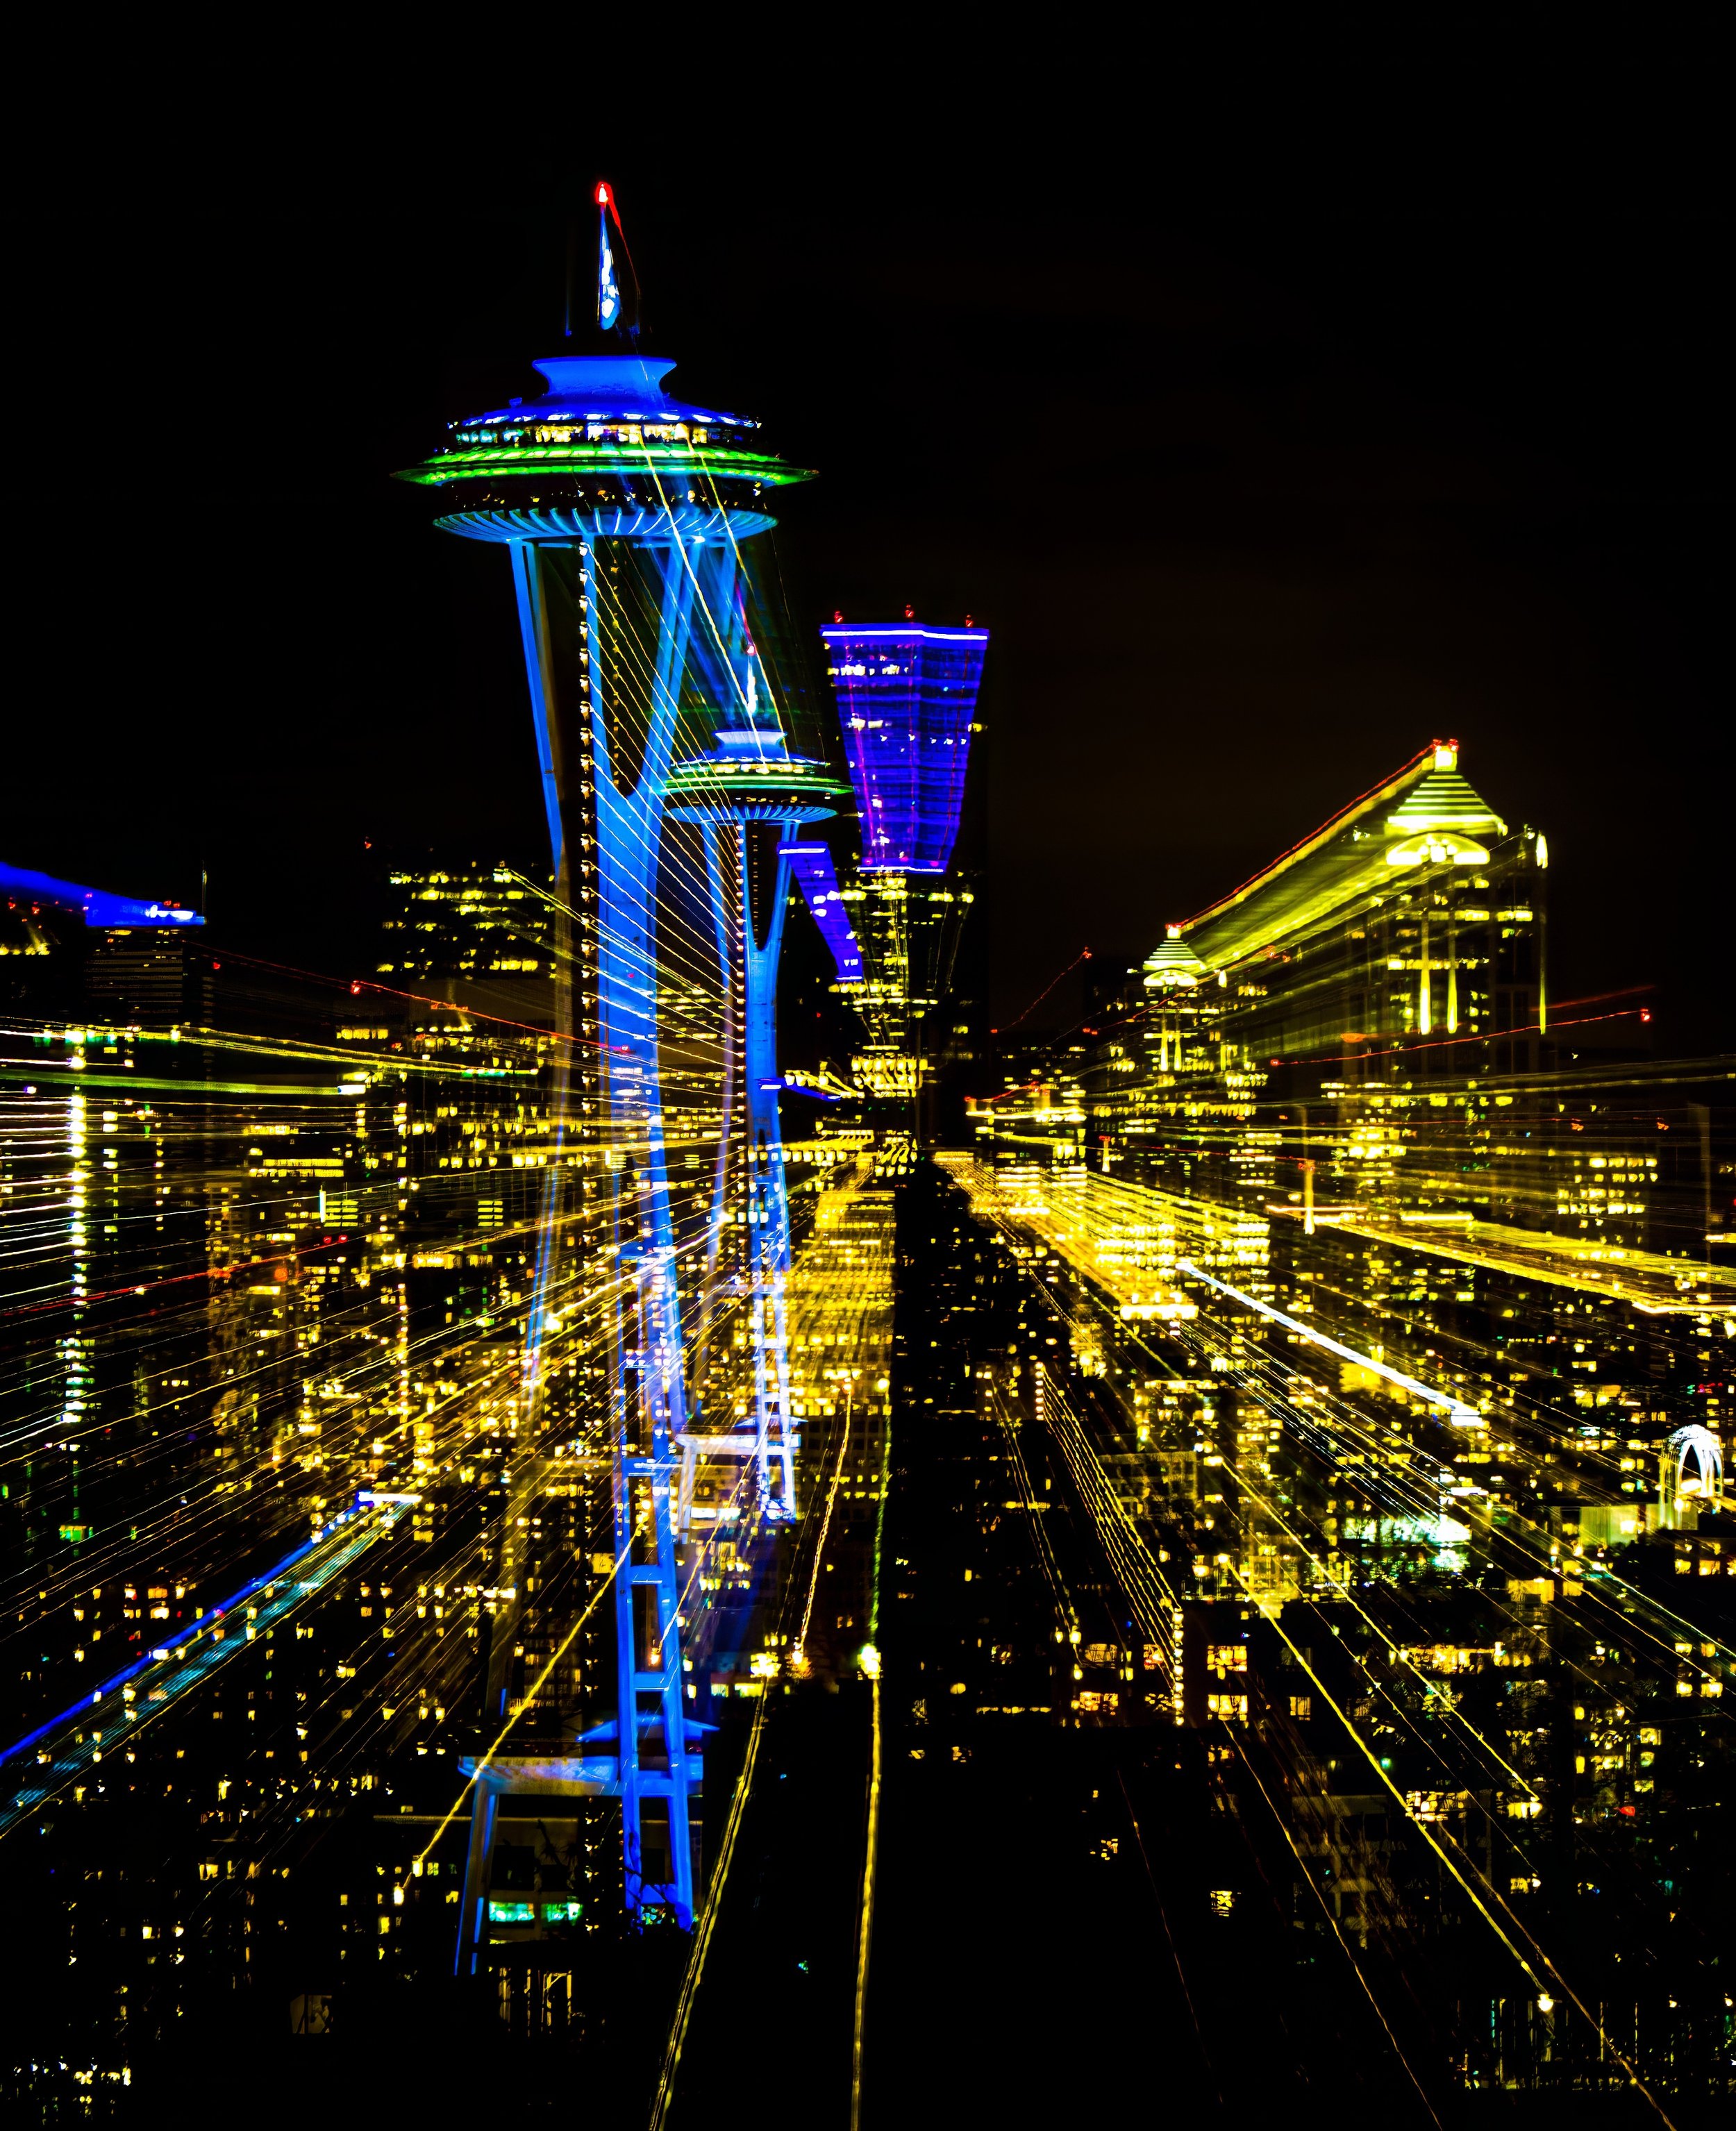
The Zoom Blur Effect is created by smoothly moving the zoom during a long exposure.
I used a tripod and a telephoto lens to get this Zoom Blur photo. When I take shots, I vary a couple of different settings, which include focal lengths, f stops, and exposure time of the photo. Also, I always use a timed delay to ensure minimal camera movement. The 2-second delay is perfect for capturing stable pictures. In this shot, I paused while zooming out for a couple of seconds before and after I moved the zoom. This effect imprints your image more strongly between the zooms, creating the fun blur effect.
I use Lightroom to do my post-processing. The photo was first adjusted with a preset I made for night photography, which adjusts the basic settings, tone curve, and lens corrections for the specific camera I am using. After that, the photo only required minor adjustments, and bam, I was looking at the photograph envisioned.


