The Story Behind the Photo
January 2025: Still Life-Rule of Odds
Kathy Conzelman

© Kathy Conzelman
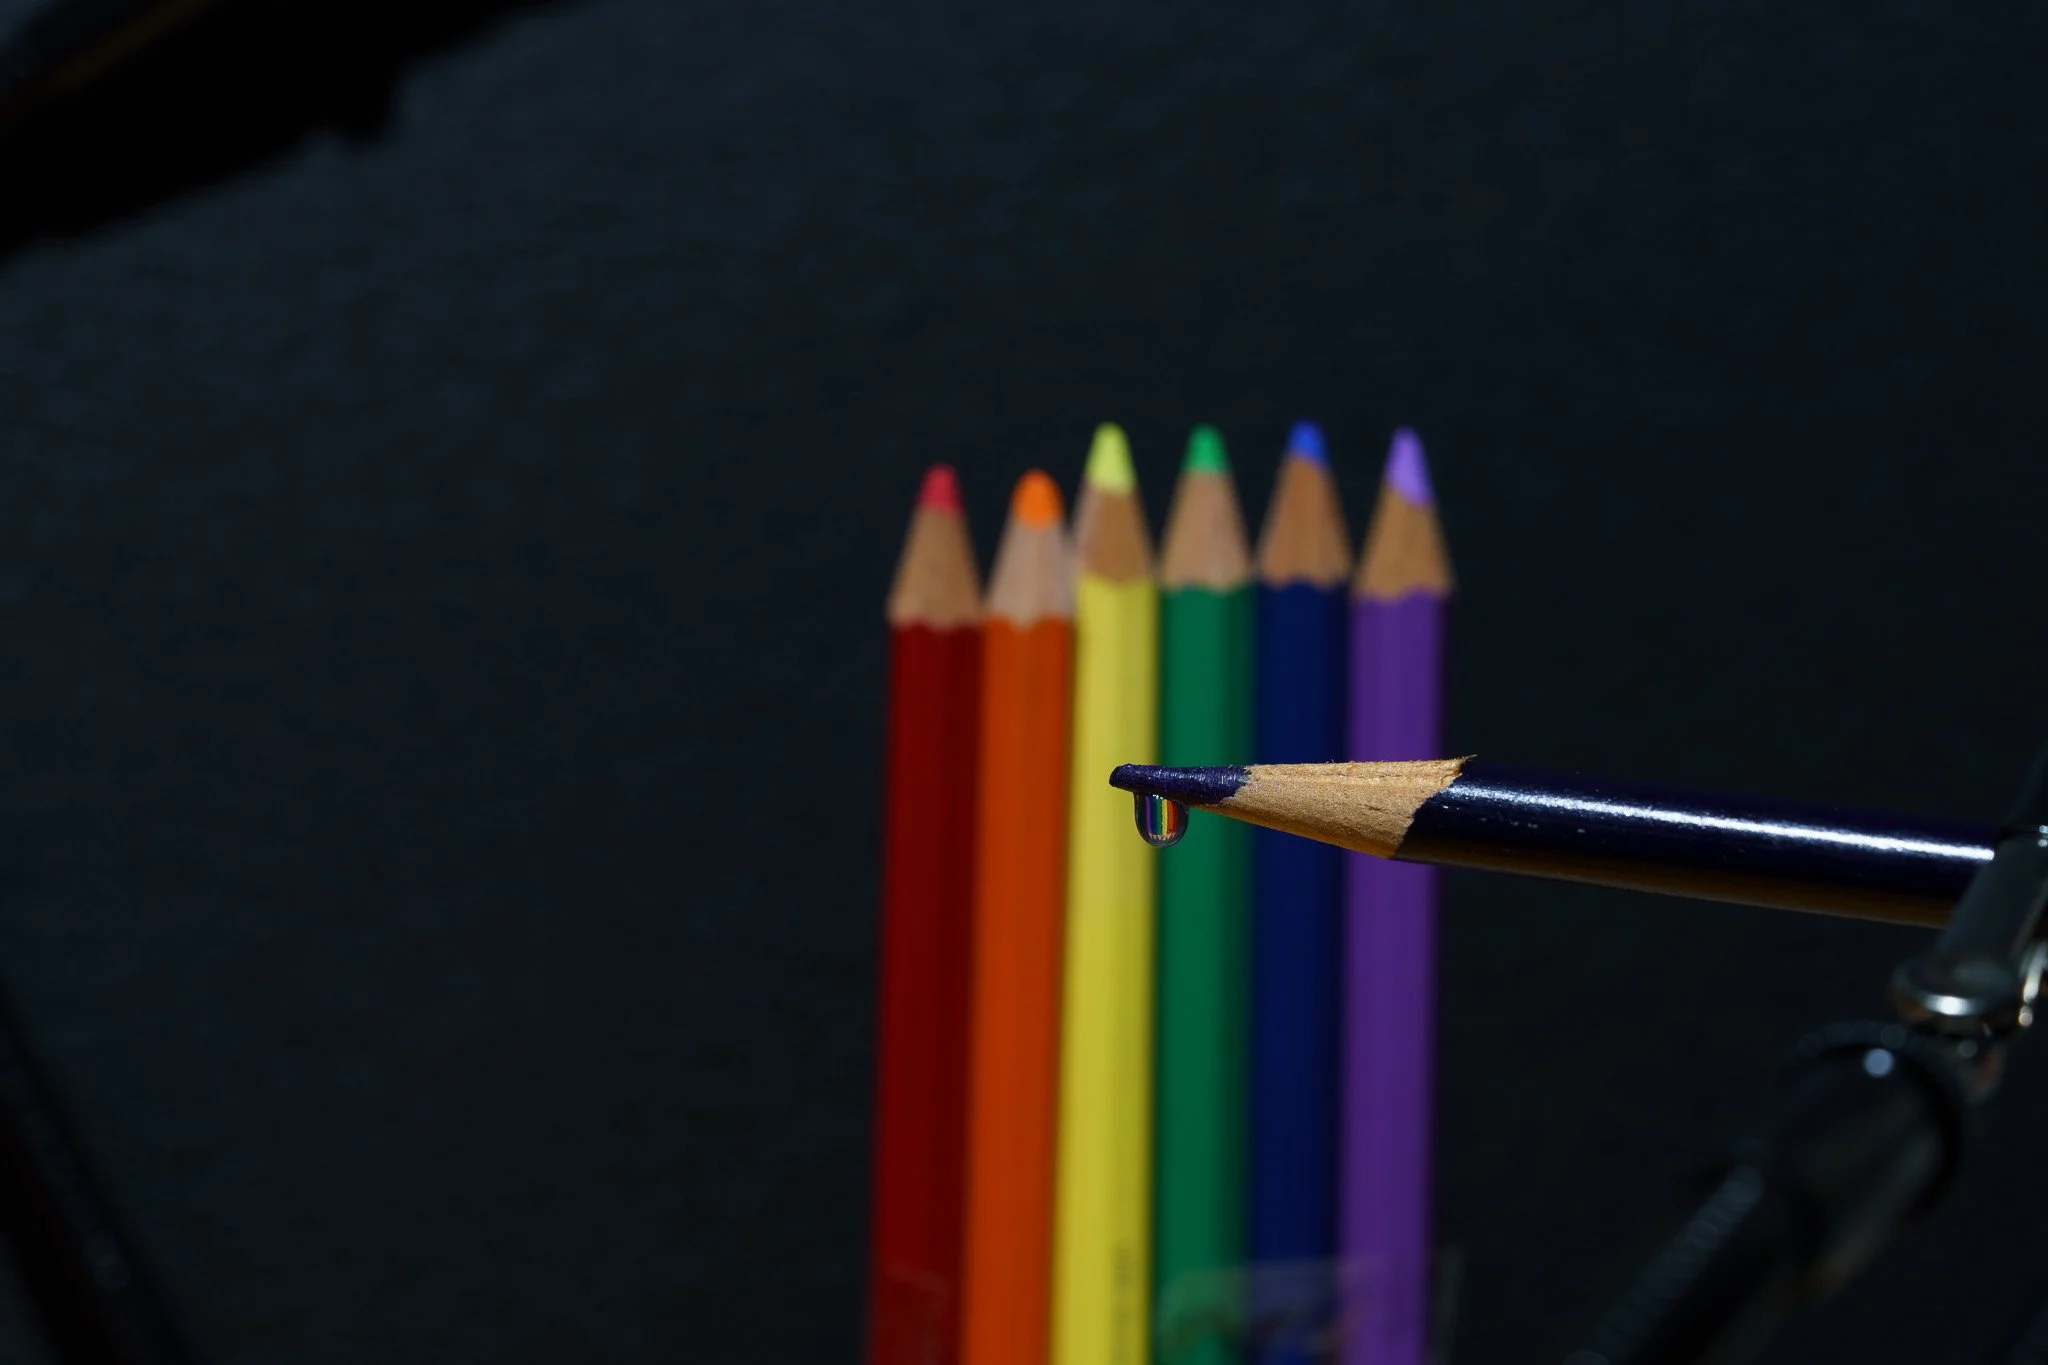
I’m not much for still life photos….I prefer to be out in nature, but I do enjoy macro, so I thought I would try a macro still life. I’ve title the image Coloring.
I began by gathering what I would need:
My Sony A7rIV with Sony 90mm macro 2.8mm lens set up on a tripod; a set of colored pencils; packing tape; two wooden blocks; a black foam kneeling pad; a fine gauge syringe; a small container of water; a small LED light cube with an opaque modifier; a wireless shutter release, and a soldering arm station.
I arranged 6 of the pencils and then used the packing tape to keep them together, then placed them between the two wooden blocks to keep them standing upright and positioned the black foam kneeling pad behind them for the background. I set up the 7th pencil in the soldering arm so that it would stay horizontal.
Next, I set up the camera to get a starting place. It took a little rearranging to get the camera distance, and the horizontal pencil distance and height just right before placing the water drop with the syringe. I knew I didn’t want to be too close, or I would end up having to focus stack the image.
(At first I used a black pencil from the set, but realized immediately it was a watercolor pencil when the droplet turned black almost as soon as I placed it. I had to search the house to find an alternate that was just a plain colored pencil. I finally found a violet one.)
It took a couple drops to fine tune the position of the horizontal pencil so the refraction would be where I wanted it inside the drop. I set the camera with a 2 sec shutter delay and turned off the image stabilization on the lens since I was using a tripod.
I focused manually on the pencil tip using the viewfinder and adjusted the settings in order to get good exposure and sharp focus on the pencil and the drop with the refraction with the background in soft blur. I settled on 2 sec, f 8, ISO125. Once it was focused I was able to turn of the overhead room light, and step back and play with the LED light position and use the shutter release when I liked what I saw on the back of the camera.
I took about 10 shots and stopped when I got this one. I processed the image using Lightroom. I cropped and straightened the image to the desired composition; burned a bright spot on the horizontal pencil; slightly increased the overall exposure; added a little contrast; decreased overall highlights; decreased shadows; decreased whites and blacks to help increase contrast. I adjusted the white balance to be slightly warmer to compensate for the blueness of the LED, and increased the vibrance. Luminance was slightly increased in all colors except yellow and magenta. I cloned out three small bright spots from the LED light to clean it up; and finally made slight increases in clarity, texture and sharpening.
Below are a few images I recreated of the supplies and set up, plus the raw/final edit side by side.
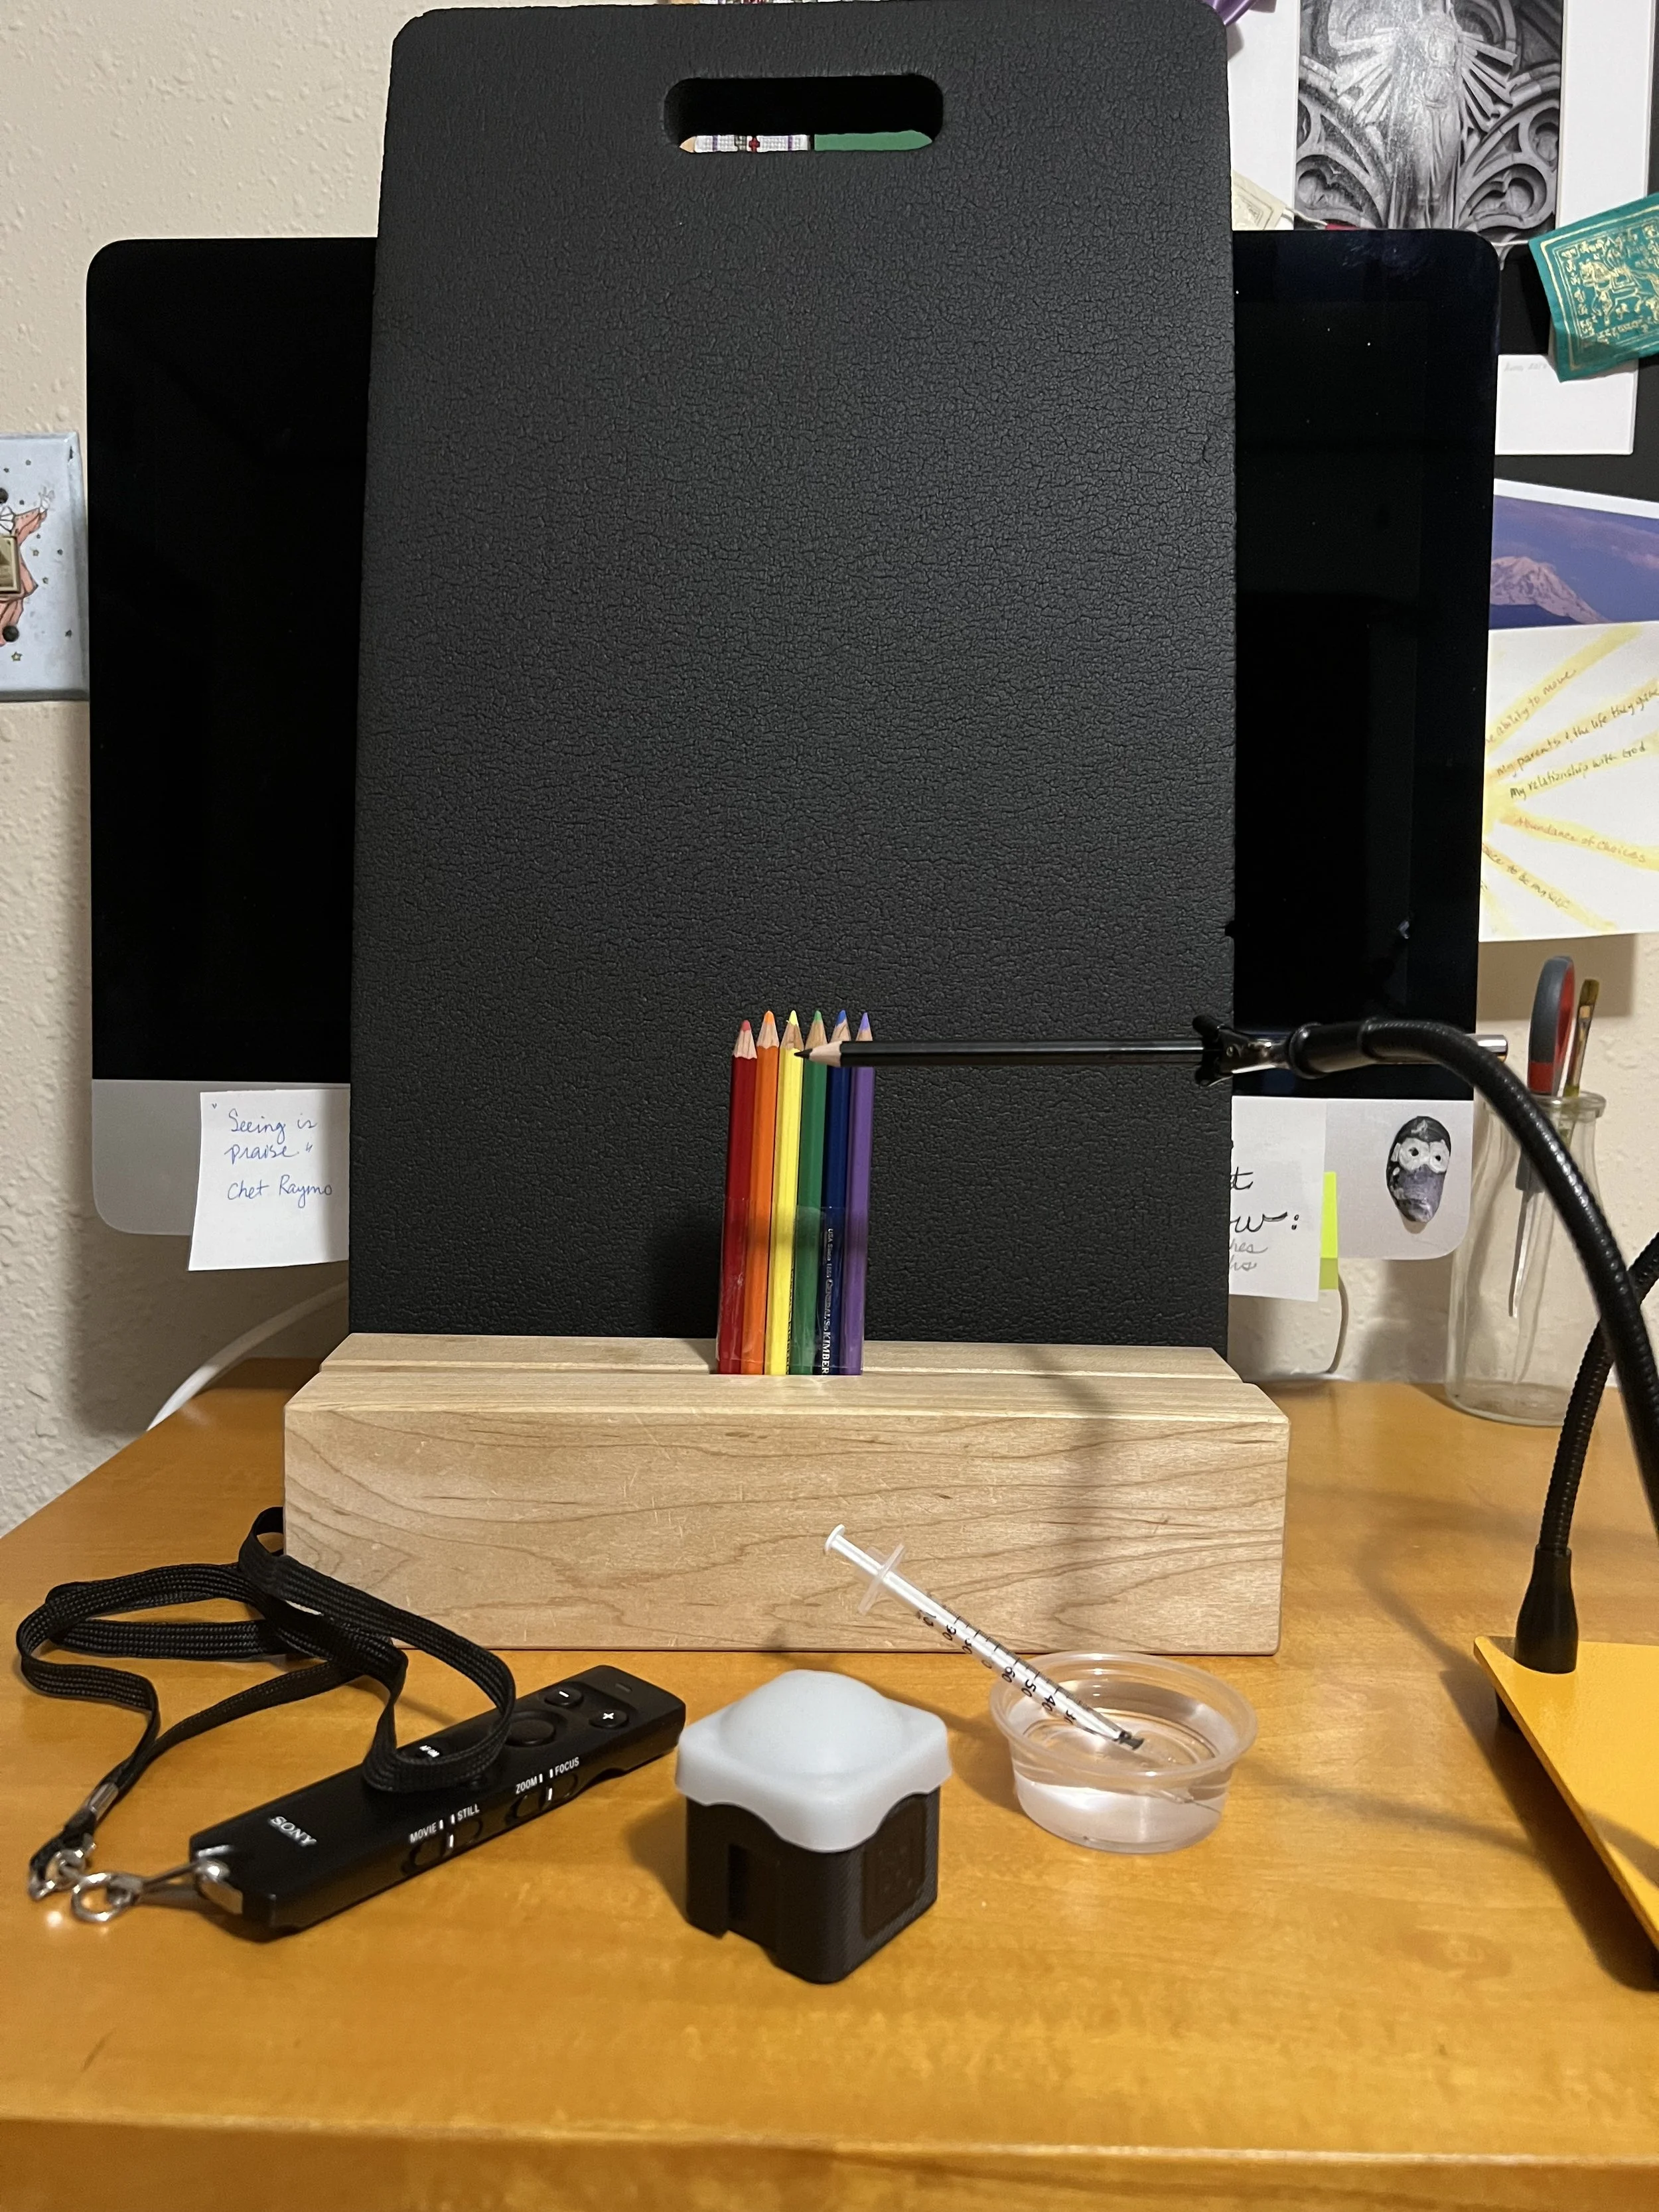
Supplies and the beginnings of the set up.

Getting the camera and horizontal pencil in position.
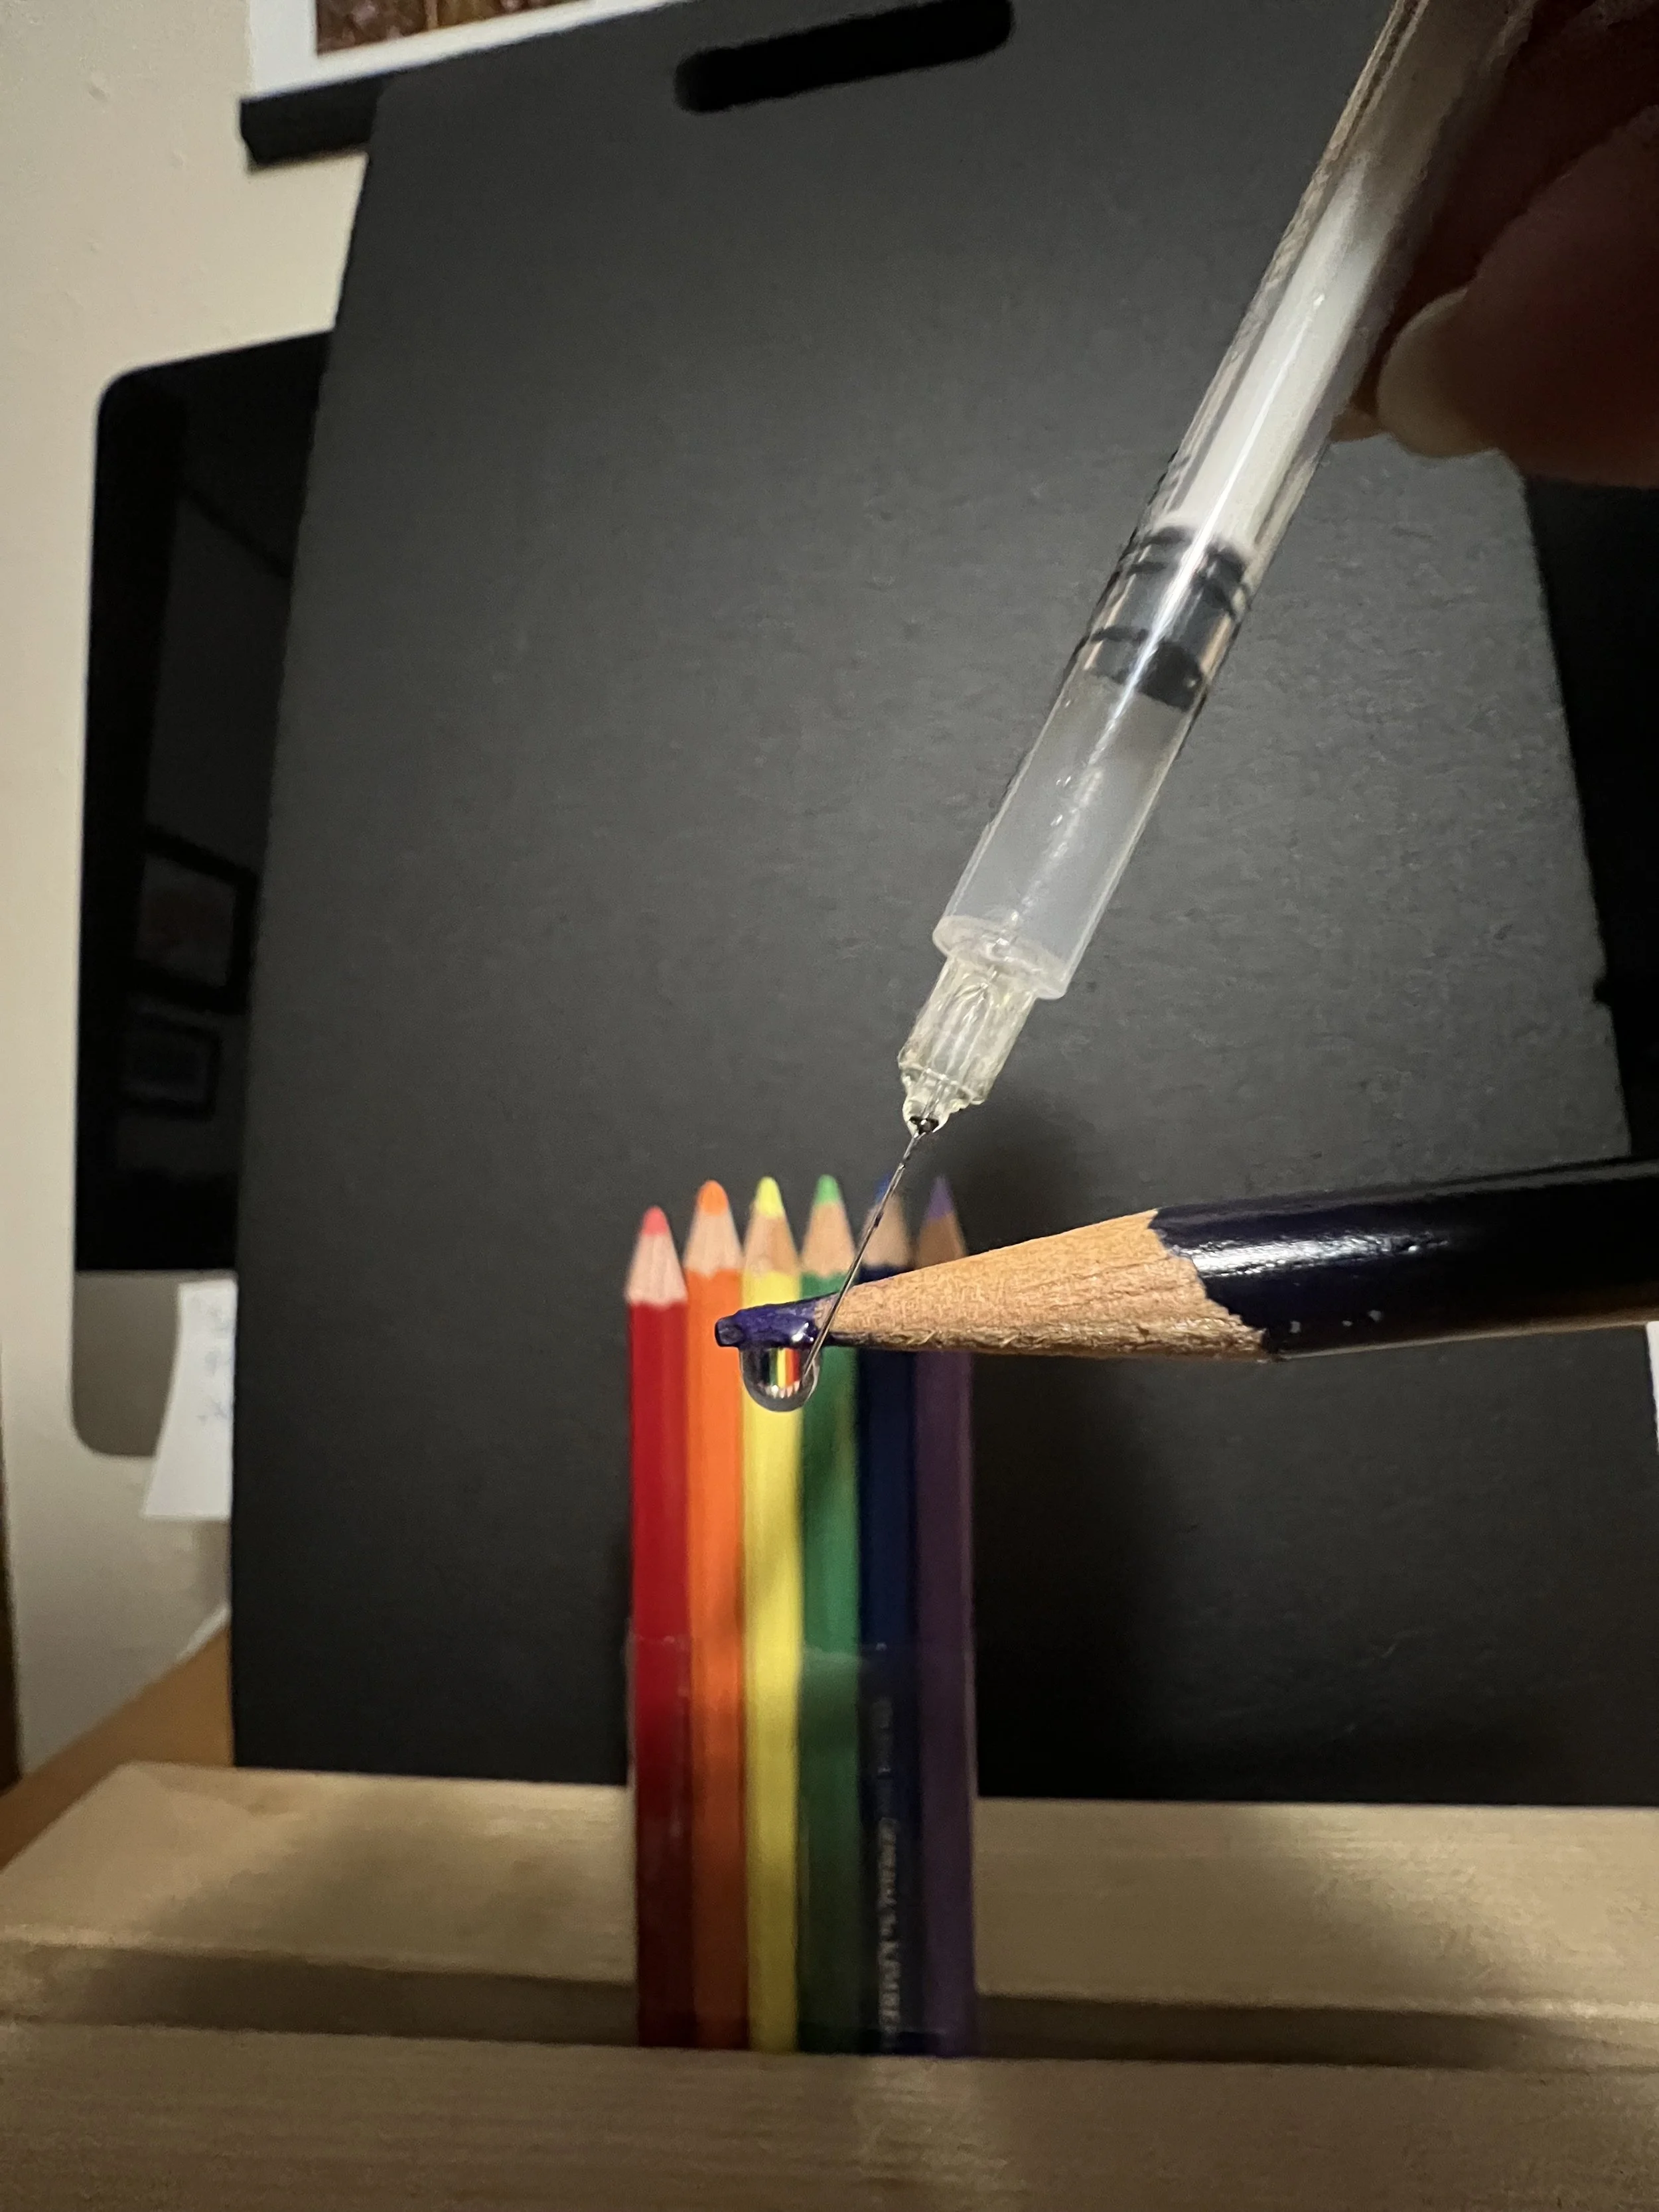
Adding a water drop.
Raw file before any editing.
FInal image.