The Story Behind the Photo
September 2023: Landscape (Unlimited Editing)
Molly Sauro-Williams
©Molly Sauro-Williams
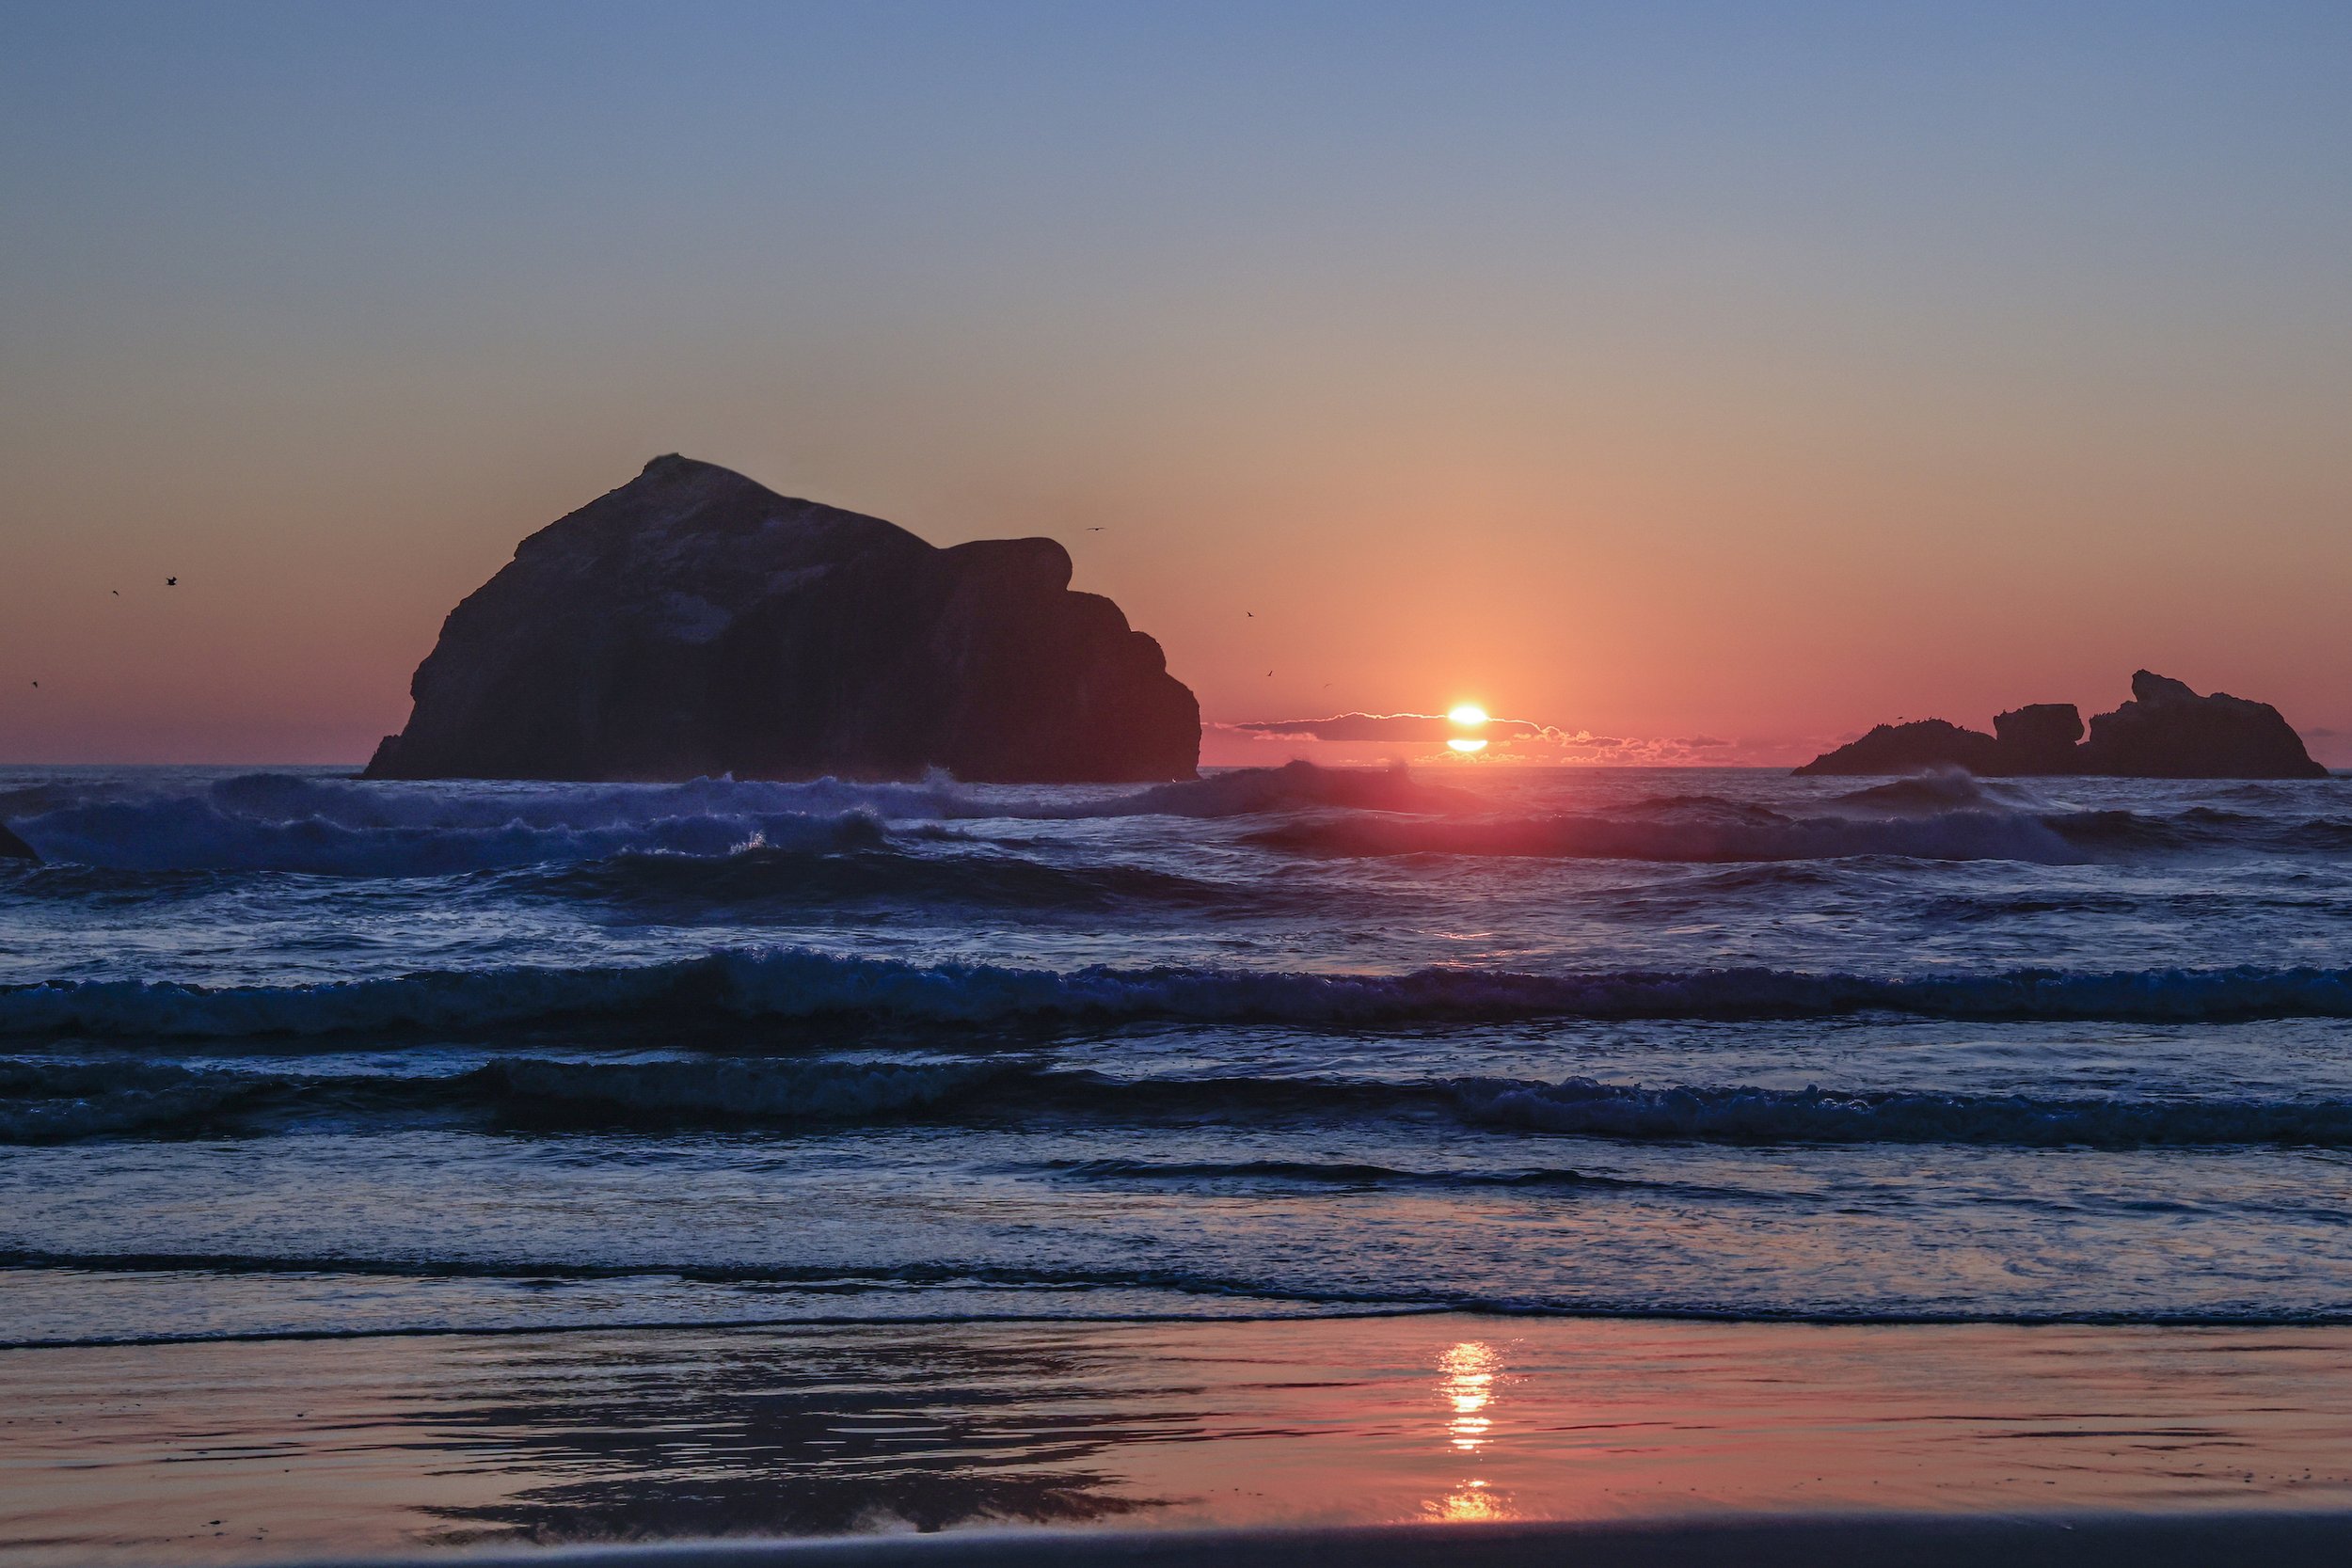
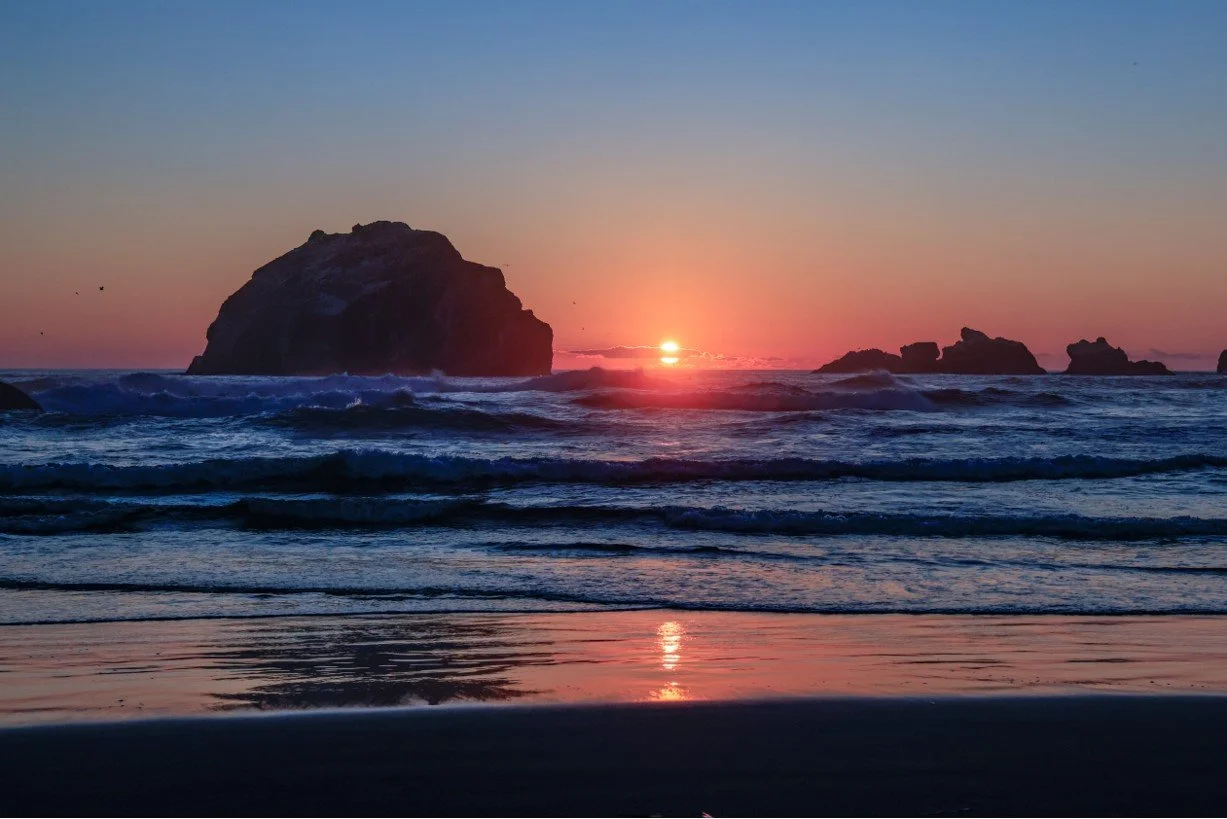
This past September my husband, Lee, and my daughter, Stormie and I recently explored the Oregon coastline. On one of the stops, we visited Face Rock State Park. (Once the word Face Rock came into conversation my mind automatically went creative.) We rented a motel very close by and then went down and scouted the area. It’s a pretty cool state park, lots of rock towers in the ocean to photograph.
We went back down to the beach around sunset. I had my tripod and my Canon R5 with my 24-105 lens. The original image had settings of F10, 1/2500 of a sec, ISO 1000, Focal length was at 56mm, and spot metering was used.
The Image was processed in Lightroom by increasing the blacks and shadows (making them lighter) and by decreasing the highlights and whites (making them darker, and the image was lightly cropped. It was then exported to Photoshop.
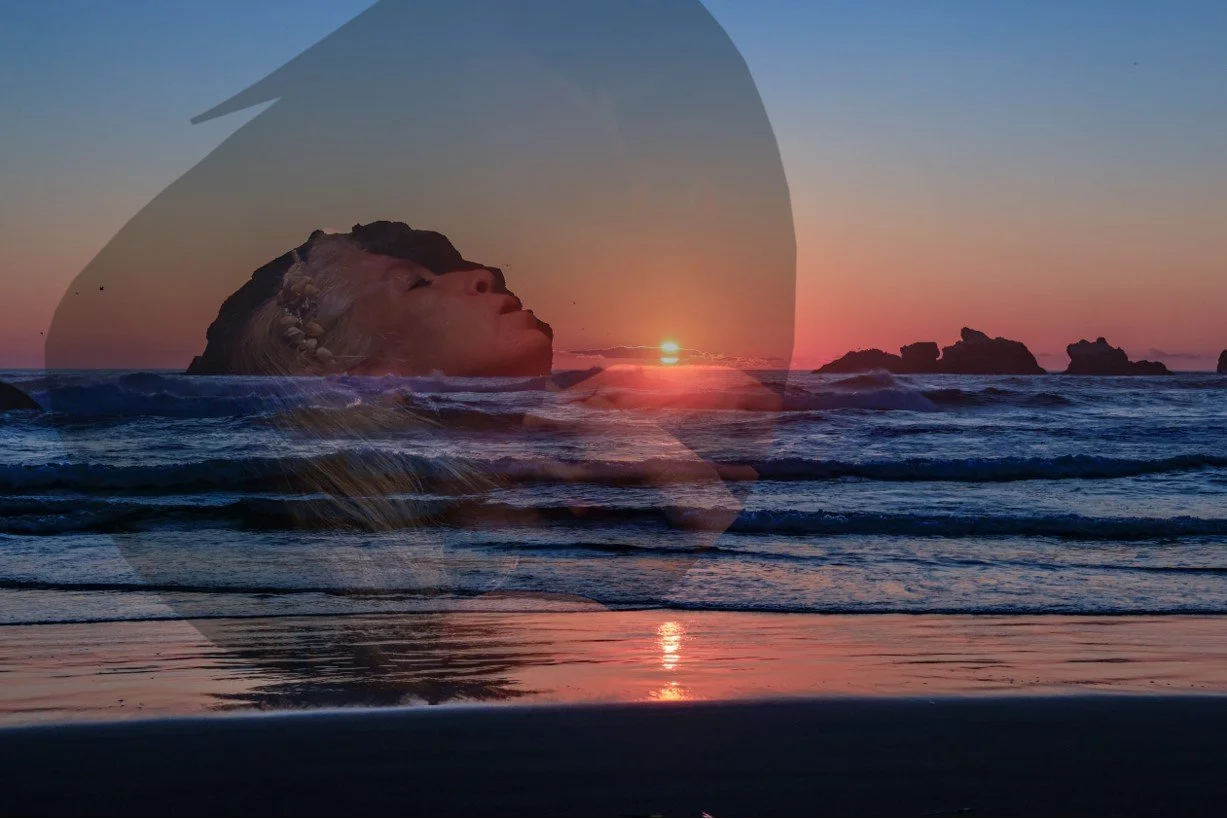
In Photoshop I duplicated the original file in layers giving me two of the same layers. On an Image of myself, I selected my profile with the lasso tool (or the selection tool) and I copied my selection and then went to the original file and pasted on top of the two duplicate files.
I brought the opacity down on the profile layer and free transformed profile to line my lips up with the lips on the rock. So now I have three Layers, the original image, the duplicate of the original image and the profile layer of me.
The profile layer (third layer) is only a guide that I used to help create the final piece.
On the Duplicate layer (2nd layer, make sure it’s selected). I used the clone brush to paint the sky back in where I wanted my profile to show. I increased the size of the image to 100% so I could see the lines and I used a very small soft bristle brush. I made a large number of selections from the sky to help blend. (Sometimes when using the clone tool it can repeat itself, so selecting from different, but similar locations can help blend.)
After I had completed the outline of my profile, I made the profile Layer unseen, and there’s the final image.


